It’s a mistake to say any one microphone is good for every task. However, microphones can shine in places where you wouldn’t ordinarily think that they would—it sometimes just takes a little extra care to have them performing their best.
We recently heard someone of some notoriety ignorantly state that “a ribbon microphone should never be used on acoustic guitars, they just don’t work.” Well, we beg to differ, and set up a little test to demonstrate how condenser-like we could get a ribbon to behave. We thought an excellent candidate for the test would be one of the most famous ribbon microphones currently being produced, and one that is particularly famous on electric guitar cabinets, the Royer R121 ribbon mic.
Certainly, all ribbon microphones have certain limitations; in particular, they don’t have the extended top end we’ve come to expect from condenser microphones. Sometimes, they behave a little slow on transient information, so you might not pick up as much of the initial attack’s punch on certain instruments.
However, whether or not that fast transient info and “attack” is something desirable will vary from style to style and producer to producer, but a well-recorded ribbon mic with a little EQ will go a long way to making the ribbon/condenser differences more subtle than you might have originally imagined, all the while benefiting from the smoothness associated with ribbons.
There’s one incredibly sensible way to address the top-end roll-off consistent among all ribbon mics, and that’s a decent EQ. While I’d like to say plugins can tackle this job, an analog EQ tends to be a far better choice when you are pushing more than just a few decibels of EQ. Ribbons have an incredibly smooth response pattern, and take EQing remarkably well. Ribbons, as a general rule, take EQ better than most categories of microphones out there, in fact! However, a good EQ can set you back quite a lot of dough.
Herein lies the magic of the AEA RPQ Ribbon Microphone Preamp with built in EQ shelving. In addition to being a world-class preamp (based on AEA’s now famous AEA TRP Tube Ribbon Preamp), for most microphones (it adds phantom power), it also has an ideal and simply implemented EQ curve designed to bring back that top end that ribbons by nature lose.
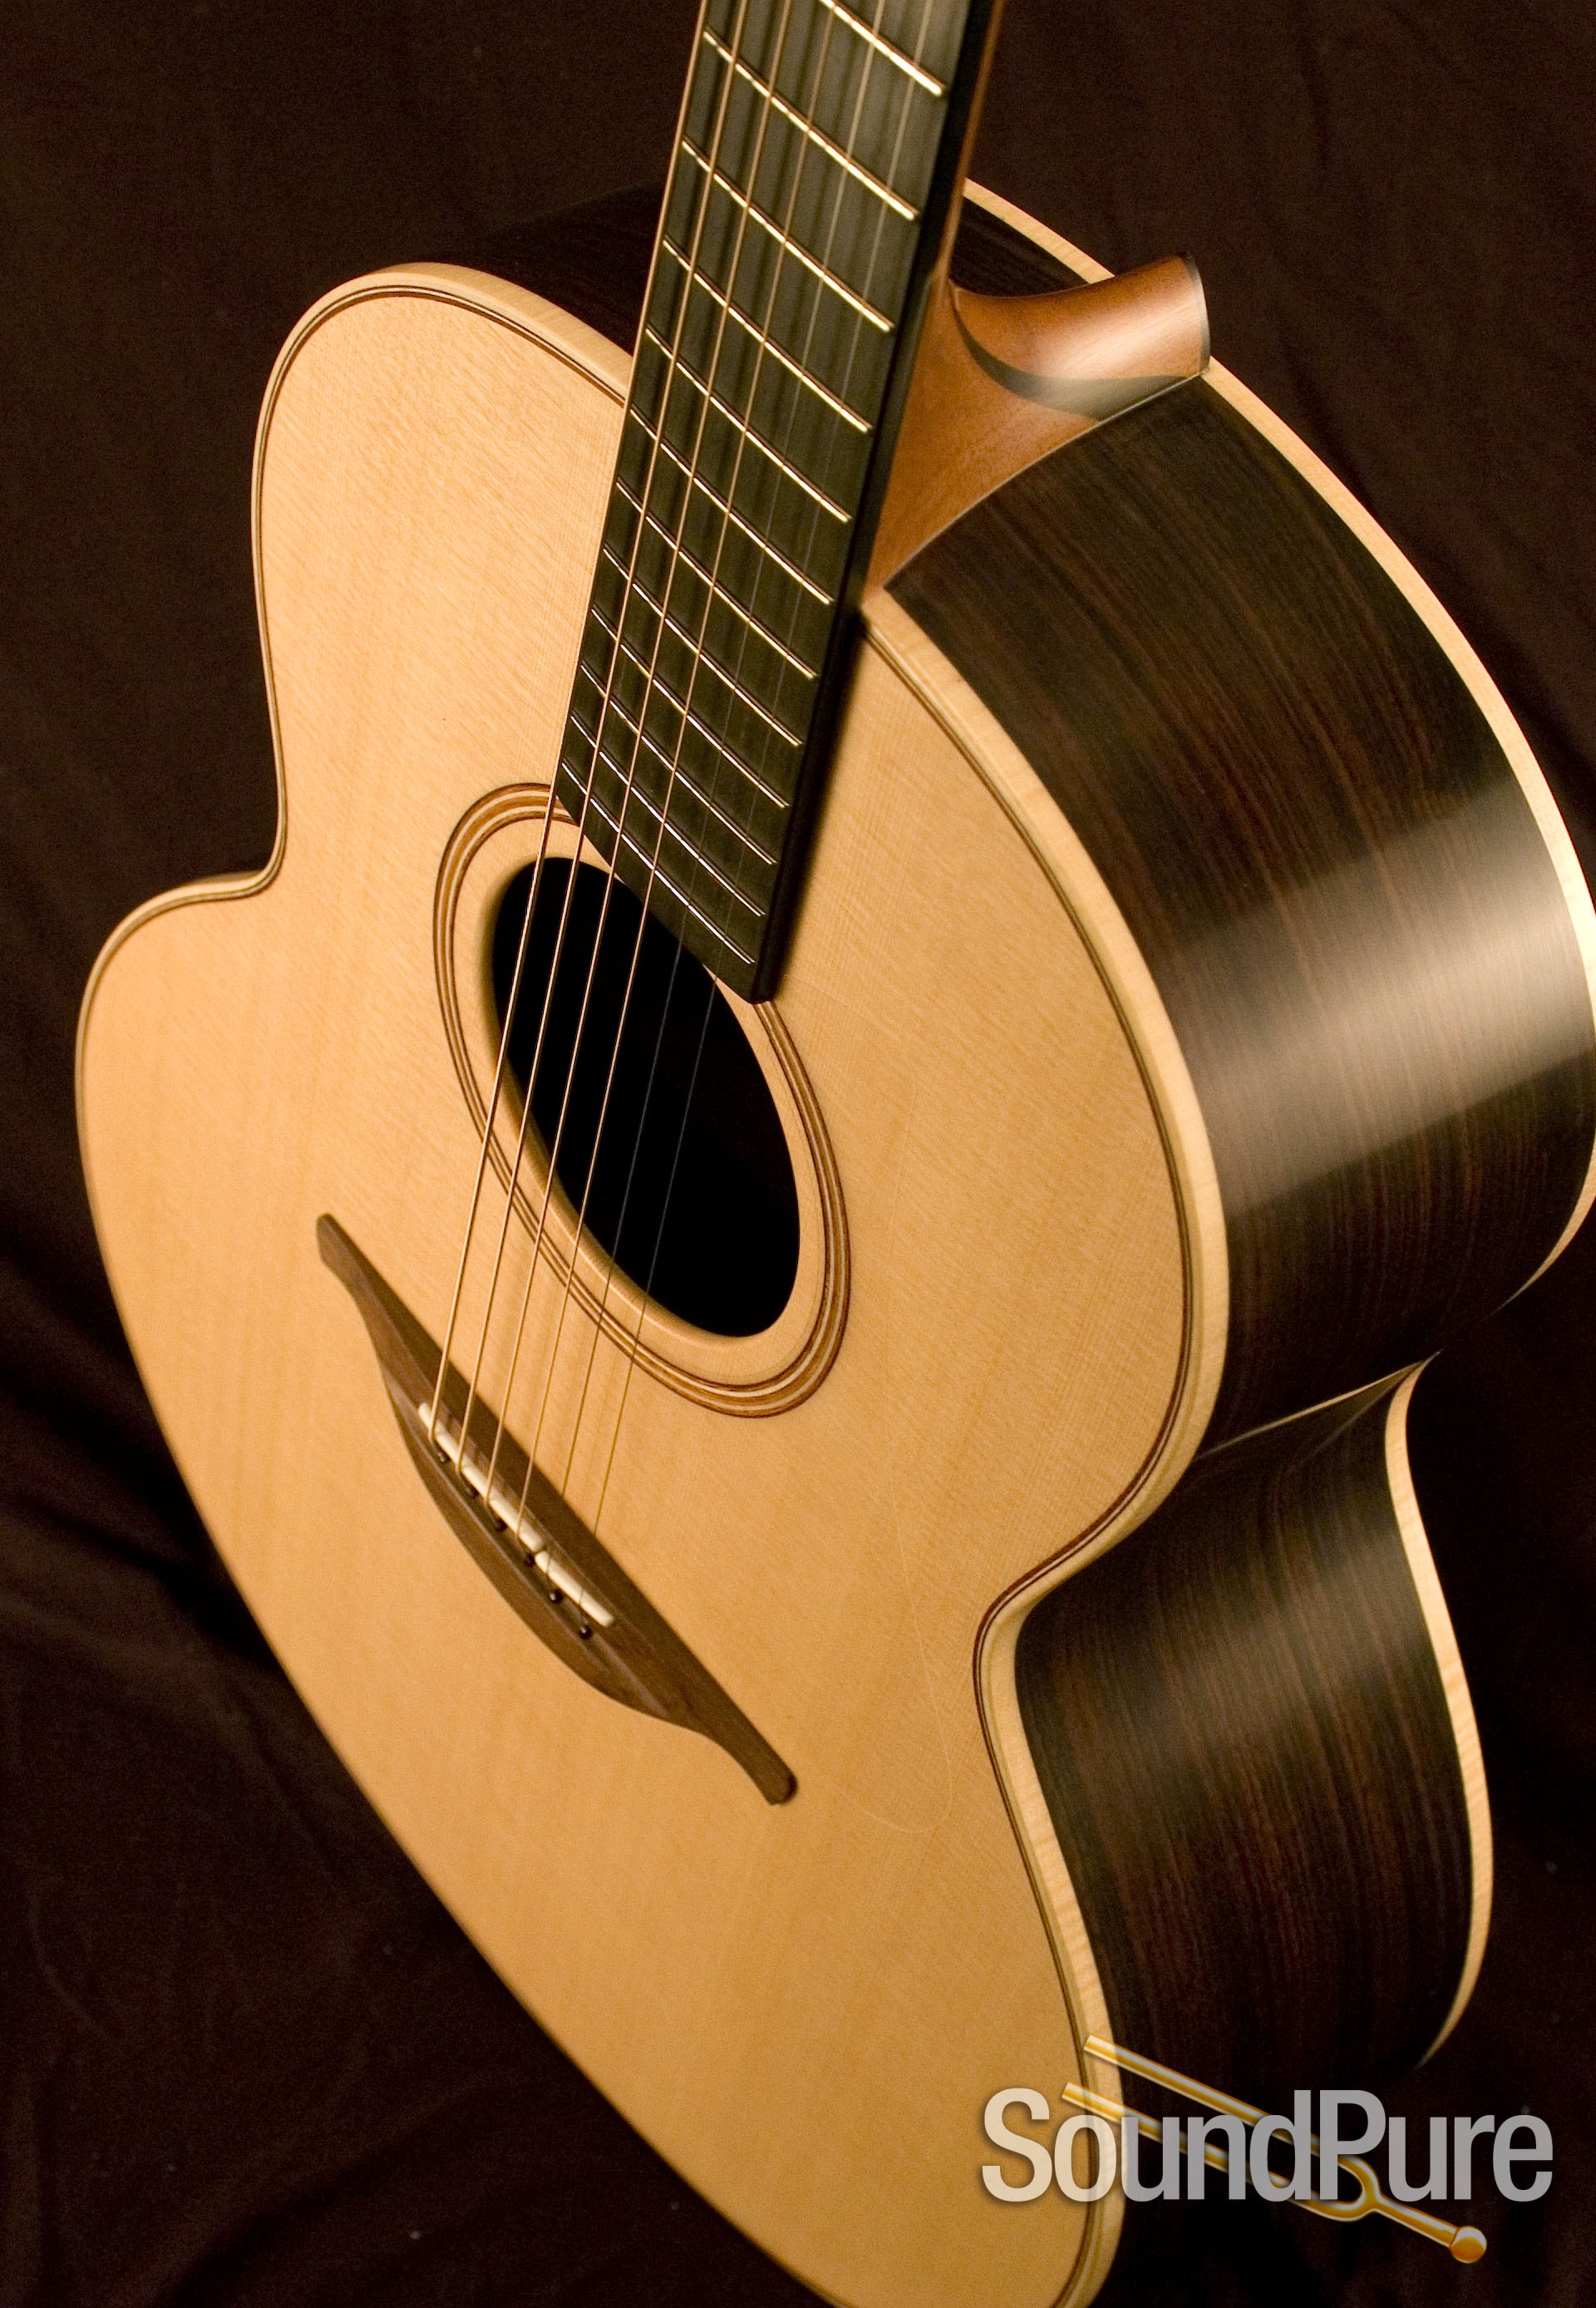
For the attached YouTube video recording, we boosted the EQ gain at approximately 6 khHz at 50% boost on the RPQ (it’s difficult to know exactly what that translates to in terms of dB, but we tune things like that by ear anyway), and got the result you will hear. We didn’t want a “hyped” top-end, we just tried to match the acoustic properties of an extraordinary Lowden guitar by tuning the EQ by ear, the Lowden F32 Medium Bodied acoustic guitar with a Sitka spruce top and Indian rosewood backs and sides.
For mic technique, we placed one microphone out in front of the guitar, angled towards the body, but aiming between the 12th nd 15th fret, with a second microphone over the guitarist’s shoulder, aiming towards the body of the instrument. You do have to play with the relative positioning of each of these mics to make sure they are both getting excellent tones off of the instrument (although the tones should be rather different from one another: this is how you can create a big wide-stereo image), but you must check your phase and mono-compatibility, even though for a solo-instrument stereo recording this is less problematic than other recording situations. Some distance-tweaking (dealing with the relative distances of the individual microphones to the sound source) will enable you to produce an ideal positioning balancing these factors. Some people like to use “rules-of-thumb” like the 3-to-1 rule. While rules of thumb are useful, they are just that. We recommend you use your ear—and if not that, use a phase tool like a Waves Plug-in Dorrough Meter. This will ensure that the changes that you are making are indeed helping your cause. Remember, each microphone must sound good on its own, but different from the others in order to use the over-shoulder technique (rather than a more traditional coincidental technique like Blumlein). You must maintain good phase coherence.
The Royer R121 ribbon microphone has an interesting result when you position it backwards (with the Royer logo away from the sound source). While you are utilizing the “negative-phase” (or 180-degree) side of the microphone, this side produces slightly more high frequency, which is definitely a nice benefit of using these 121s and certain other ribbon microphones that have this effect (not all ribbons have the benefit of an alternative tone with the microphone reversed). While the pickup patterns are identical on the front and rear lobe of a true figure-8, this slight discrepancy with additional brightness on the back side of the 121 is subtle and advantageous to use when tracking things like acoustic guitars, where you would like the extra top-end anyway. Anyhow, if you do this, to be technically correct, you will also want to reverse the polarity by engaging phase-reverse on your preamp (which we did here on the RPQ). According to Royer, “at distances of three feet and closer, the back of the R-121 records slightly brighter than the front side. This can be extremely useful when recording acoustic guitars, vocals, and other sound sources that you may need a slightly brighter response on.” Clearly, they had this kind of instrumental recording in mind!
Let us know what you think of the recording, the technique, or any questions that you have about what we did here. You can hit us up anytime by phone or email with any question that you have, or peruse our website for loads more info on any of this gear, these techniques, or the numerous videos and sound recordings featuring all of these beauties!


