


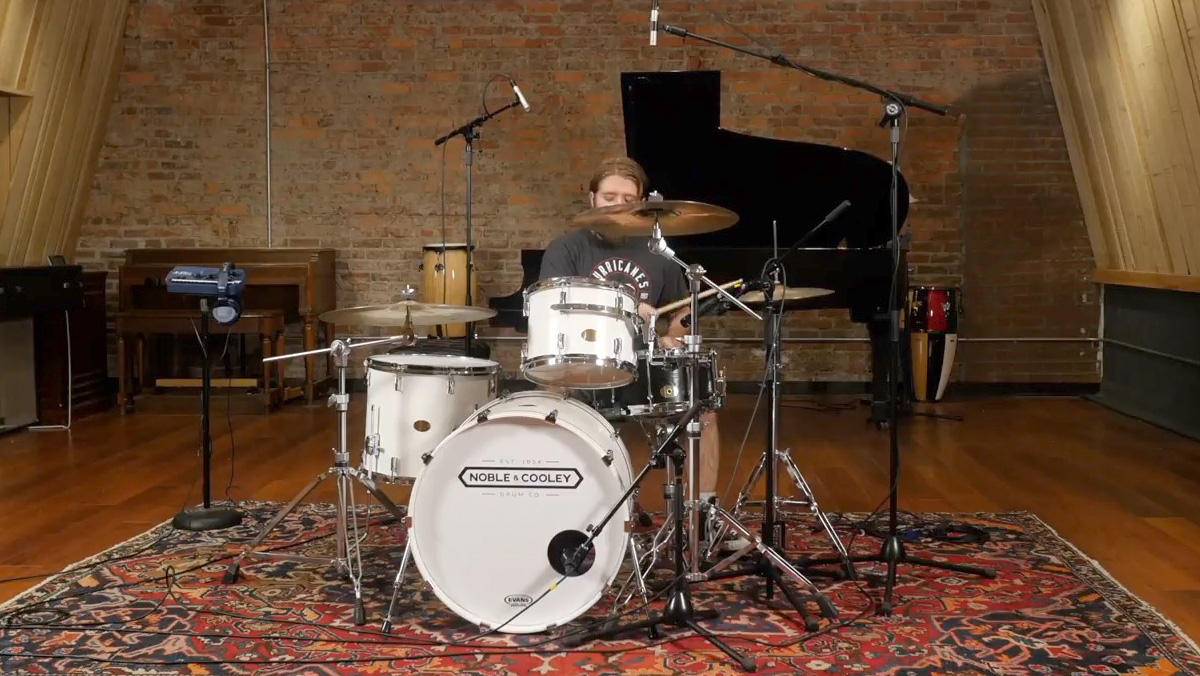
Possibly the most daunting task for an engineer new to recording is getting a great drum sound, so, since we’re doing some training with our drum team at the shop and teaching them more about miking up a kit, we decided this was a great opportunity to throw our two cents out into the world about drum recording setups.
Let’s start out with the obvious: If you ask ten engineers how they tackle recording drums they’ll give you ten different answers, and that’s exactly what happened here at the studio with our pro audio staff. But after some discussion, we settled on a couple of different techniques to showcase. We’ll be sharing these with you in a series of posts (including videos) to give you what we consider to be great places to start with drum recording.
The next “no-brainer” in recording is that there is very little that is absolutely wrong or right. With miking drums, about the only two things you’ll get 99% of engineers to agree on is that the snare and kick shouldn’t be panned–they should be right down the middle. Everything else is up for debate and to your taste. Time and experience, along with experimenting, will help you answer how you want to mic up your kits in the future.
With that said, the first drum miking setup we’ll cover in this series is the “recorderman” technique, a basic 4-microphone method.
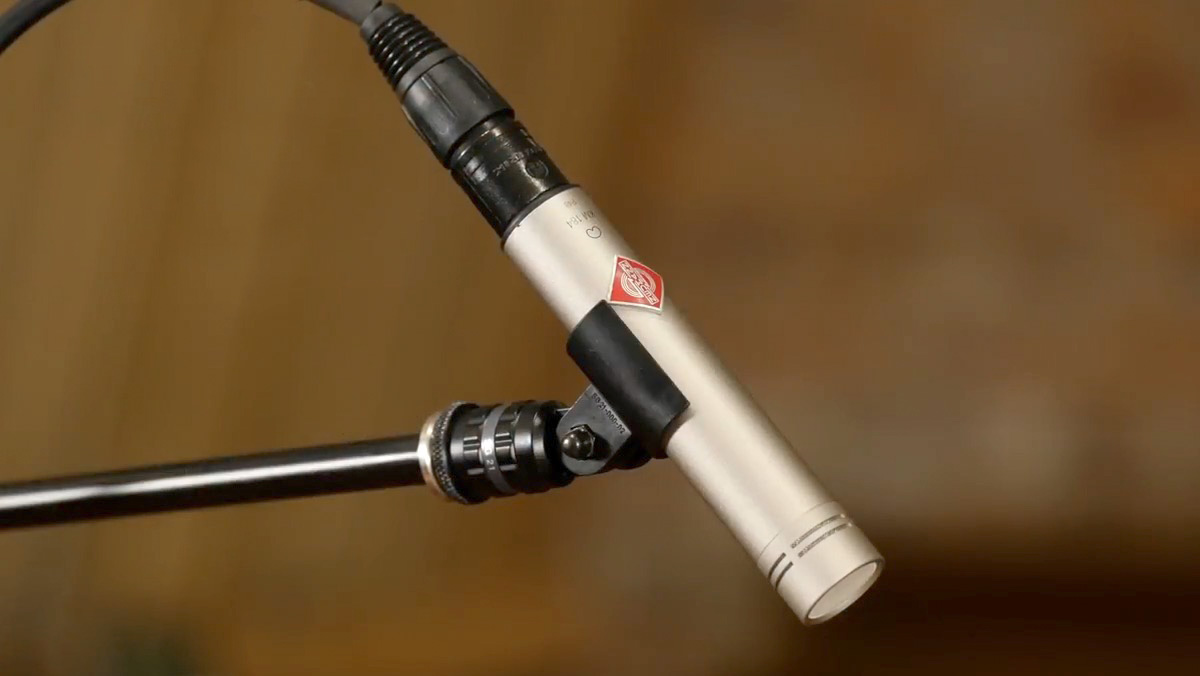
We chose this particular setup for two reasons. First off, most newer engineers probably won’t have access to a lot of fancy mics, 12 channels of preamps, or a big treated room like ours. The recorderman method only requires four mics (so four total inputs into your DAW along with four preamps), and two of the microphones can be more commonly found dynamic mics. We prefer the two overhead mics (OHs) to be a pair of condenser microphones, and in this case we used a pair of small diaphragm condensers (SDCs), but you can use ribbon mics, tube LDC mics, tube SDC mics, or even mix and match mics to taste as you get comfortable with this method. We chose standard SDC mics (Neumann KM 184s) because they are both commonly used as drum OH mics and because SDC mics tend to be more detailed.
What we really love about this setup is that it has very minimal phase issues (more on that later), and it gives you an easily repeatable setup. Also, by varying the height of the two overhead mics, you can easily achieve a great sound in nearly any room.
The other option we looked at was the more traditional spaced pair technique, which shares the same placement of the kick and snare mics with the dynamics. These two setups are actually quite similar, and you can see us tackle a spaced pair in the next part of this series.
What pushed us away from starting our training session with a spaced pair setup is that you have to make a couple of decisions about placement that affect your overall tone. With a spaced pair, you can’t get each OH mic in a position that is the same distance from the kick and snare at the same time, unless you are in the “recorderman” setup. With the spaced pair, you have to choose to either be equidistant from the snare or from the kick drum beater. While the phase might be minimal, we feel it is best to try and eliminate as many variables as possible while starting out.
While you do tend to get a wider stereo image with a spaced pair set, phase can be a little more difficult. With the “recorderman” OH position, you know that both mics are the same distance from the kick and the snare, ensuring that you are in phase. We like this for beginners, as it takes more variables away and gets you to tracking sooner!
Let’s quickly tackle phase. Phase occurs as the sound source (for instance, the snare drum) takes a certain amount of time to get to one mic, but takes longer to get to another. The phase can be completely out of phase (180 degrees), fully in phase (0 degrees), or partially in phase (30-150 degrees out of phase). Other than listening, looking at the waveform of two tracks will be a great indicator of whether you are in phase, out of phase, or partially out of phase. When in phase, the waveform on two tracks will start to go up at the same time. When 180 degrees out of phase, one waveform will start to rise at the same time another starts to fall. There is significant signal loss when this happens. If things are partially out of phase, that means that one track starts to rise first, and then another track will begin to rise before the first track peaks and then falls. The tracks together will cancel out part of the sound as one rises while the other falls. What you will hear is a lack of attack and a lack of body. The only way to fix a partially out-of-phase set of tracks is to either move the mics and re-record or “nudge” the track that is out of time with the rest of the song until it is in phase.
The most common 180-degree phase issue comes from miking the top and bottom of a snare (you’ll be able to see this in our 8 microphone setup demonstration). Both should be very close to the head of the snare but are perfectly out of phase because as you hit the top head, the snare head compresses and produces a “dip” when you look at the waveform. When the bottom head reacts, it pushes out, which will be seen as a “rise” when you look at the waveform. These will come close to fully canceling each other out, so to remedy this, you flip the phase either at the mic pre or in your recording software. If only it was that easy all the time!
More than likely you are going to find that things are not fully out of phase or fully in phase. The “recorderman” technique takes most of this out of the equation. In our example below you can see that these are very close to being locked into phase.
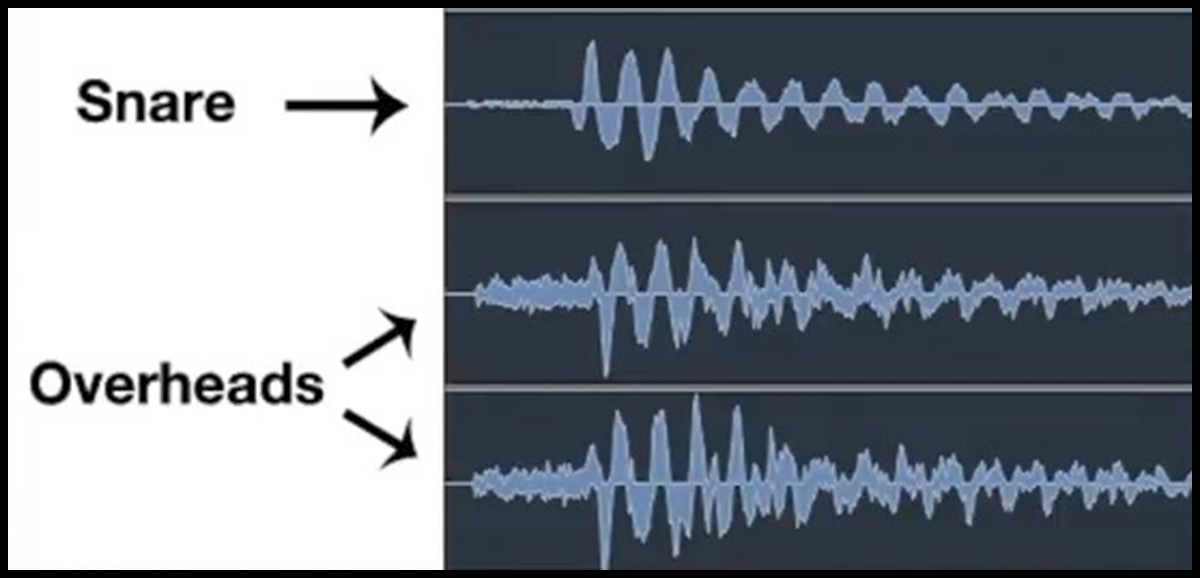
If you look at the screenshot above, you’ll see that the close mic snare and the OHs aren’t 100% in phase, but are very, very close. If we really want to make them 100% in phase, we can simply drag the tracks so that they line up perfectly. We can do the same with the kick mic. In this case, we are talking very minimal phase issues, issues that quite honestly aren’t enough to justify doing anything about it. You probably won’t hear a difference if you move the tracks.
Drums are tricky like this, as we have a lot of different sources packed into a small area. The fewer mics you use, the less chance of having phase issues. As you add microphones, you have to really make sure that you are getting a great sound while recording, as you may not be able to fix the phase in the mix if there are phase issues. You can really enhance the sound of the kit by adding mics, but when starting out, fewer microphones is probably the way to go.
In the end, we are all chasing a great sound, so making sure you have a great raw sound on the way in is going to allow you to manipulate the tracks in the mix to get exactly what you are looking for, and this all starts with in-phase tracks. If you’re finding major phase issues that are not 180 degrees out of phase (which can simply be fixed with a phase flip either on the mic pre or in your DAW), you’ll need to move the microphones around until you aren’t hearing the issues any longer.
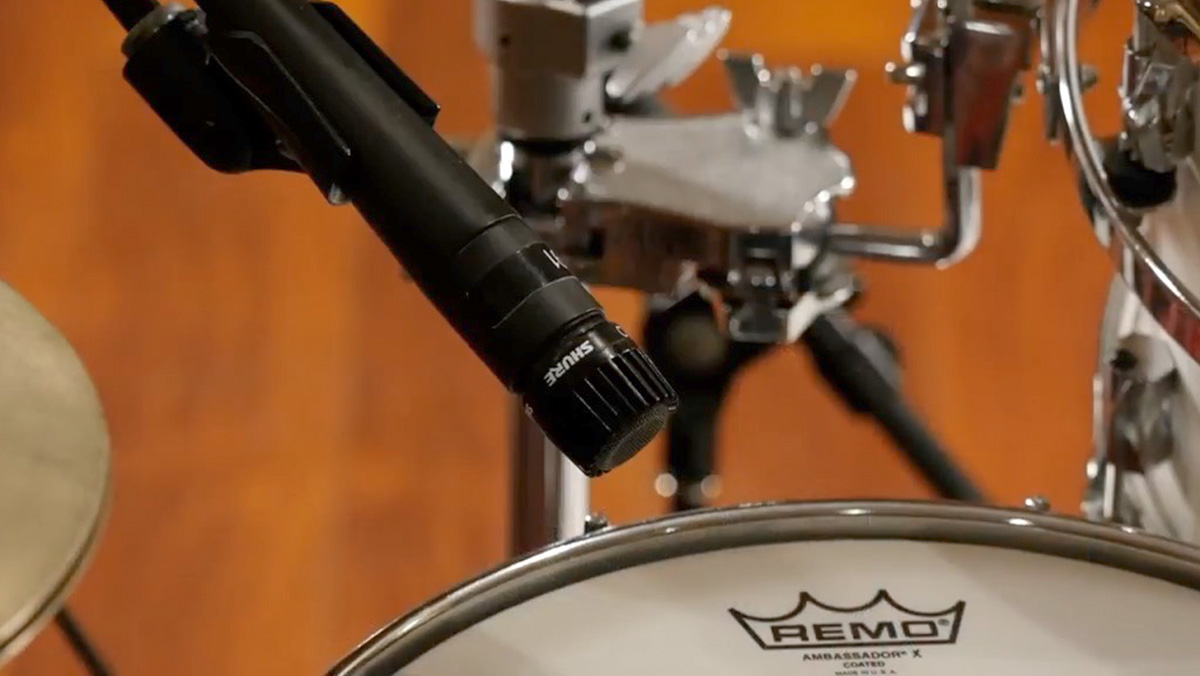
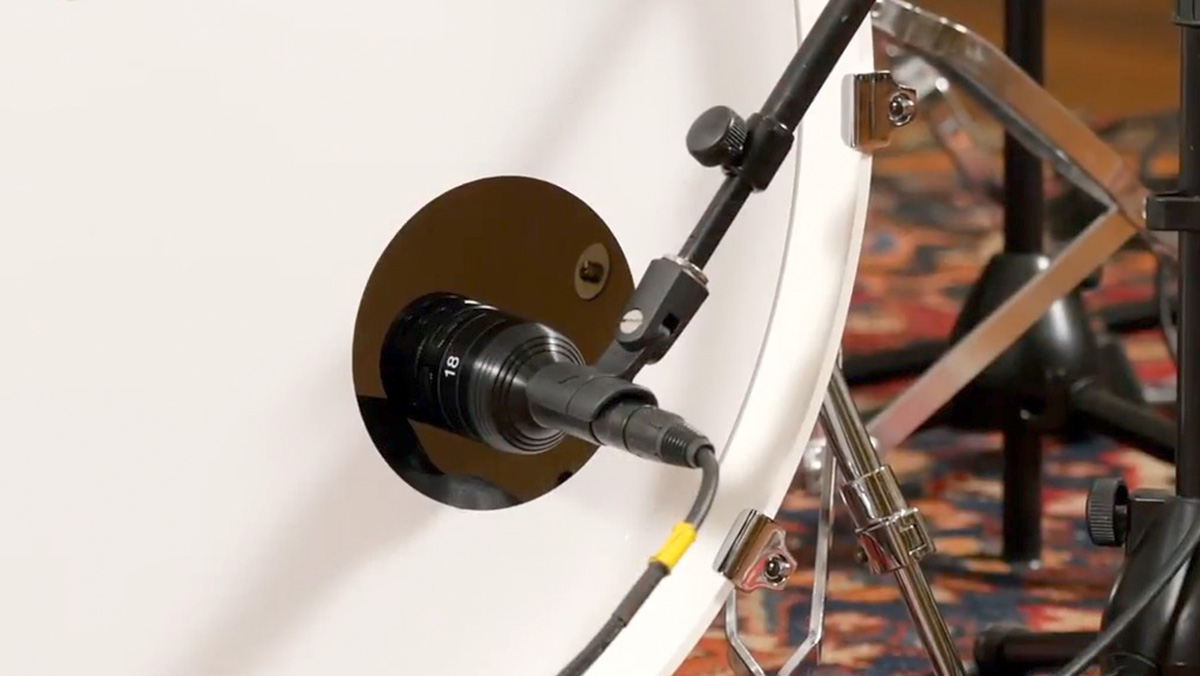
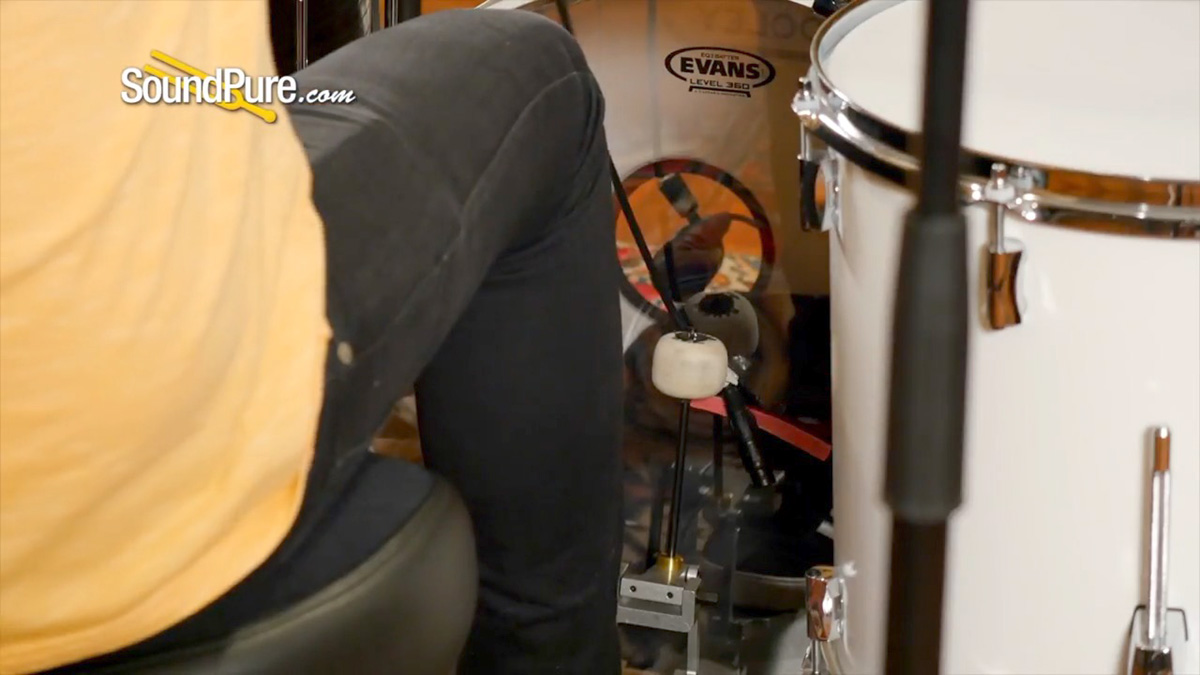
Let’s talk setup! The “recorderman” configuration is incredibly simple and Marc does a great job of explaining it in the video. The kick and snare positions are really a matter of moving the mics until you achieve a sound that you like. Moving the mic on the snare can be the solution if you are hearing to much “ring,” or if the drum is too tubby. Move that mic until it sounds good. The kick is even more straightforward. Find the sound hole, and then move it in or out until you are getting the desired punch and “woof” of the kick. These mics are intended to enhance the sound of the kick and snare along with the overheads.
For your two overheads, you can try using two different mics if that is all you have. Ideally, we like using two of the same mics, but in a pinch, find the mic that sounds better over the snare (or try both there first), and then move as necessary.
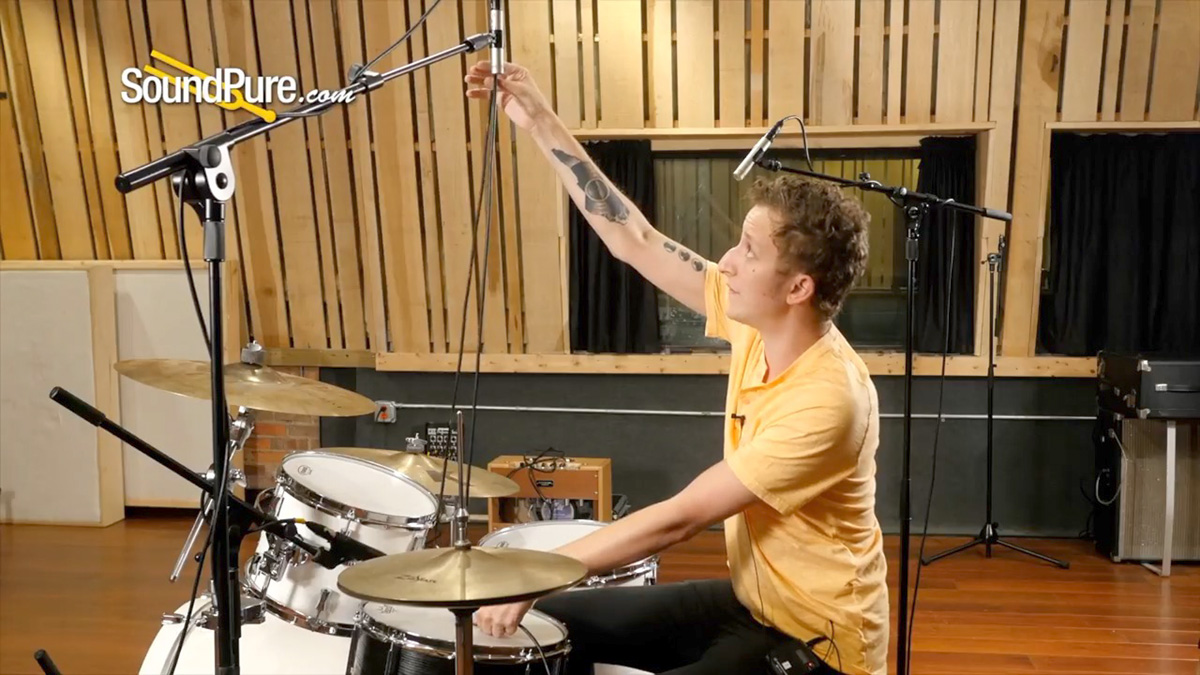
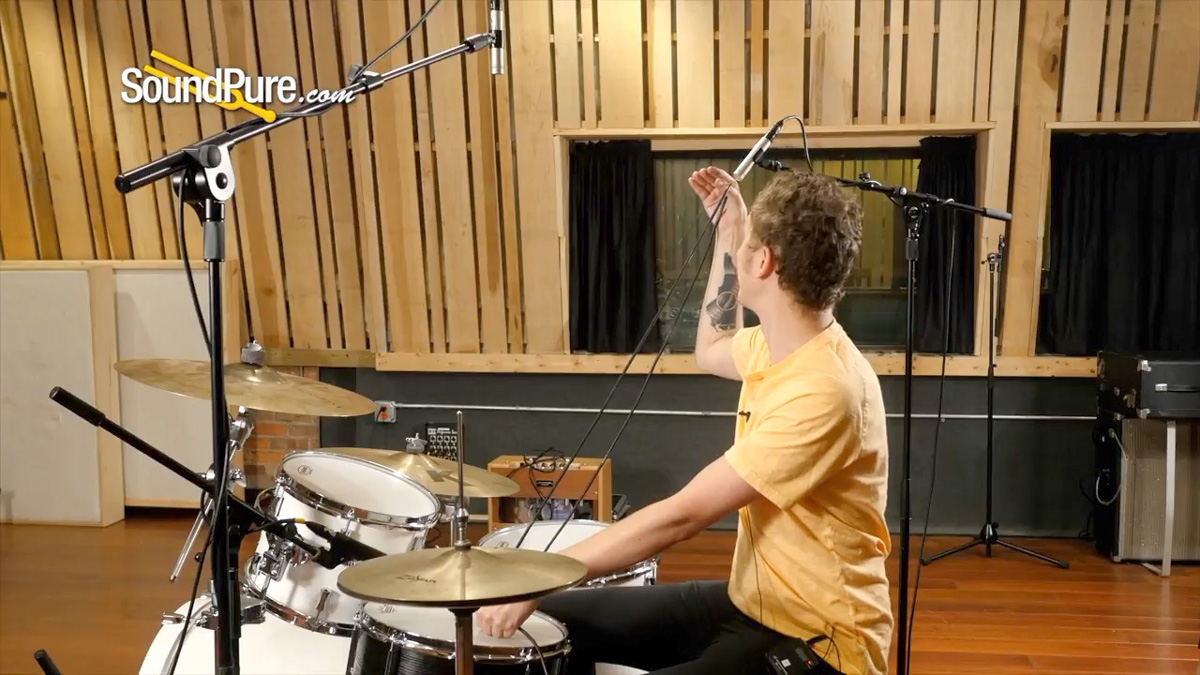
The first overhead mic is the mic that is directly over the snare, pointing to the center of the snare drum head. We started calling this the “anchor” of the overhead as it is centered over the kit. We like to go closer to 2.5 to 3 drumsticks above the snare, which, depending on what you read, may seem higher than others suggest. This provides more room to the drummer and gets you a little more of an open sound. In your room, you may find that you are getting too many reflections and room sounds at that height. If so, bring the mic closer to two sticks, or until the sound is better.
Once you have the mic above the snare sorted, you’ll pull a string or a mic cable from the beater of the kick drum to the overhead mic, then back to the center of the snare. KEEP THAT RATIO! You want to move the second overhead mic to the place above the drummer’s opposite shoulder that matches the same kick and snare distance. You want to orient the mic so it is also pointing directly at the center of the snare head. There is really only one place this mic can go (and this is what makes “recorderman” such an easy setup). As you move one mic closer or further away, you need to check your distances to make sure that you are still the same distance from both the kick and snare. The magic of this setup is that you are going to get an in-phase recording with very minimal problems.
Bam, let’s start recording.
The files in our video, which we can send you, have only been edited for levels. We wanted to share with you all totally raw files so you can hear how a kit can sound before any production has taken place.
4-Mic Recorderman Drum Recording Setup
It is very typical to run some EQ as well as compression and reverb when processing drum tracks. Some engineers go crazy and do all kinds of processing. We want you to experience and achieve a KILLER sound up front. Once you can accomplish this, there are all kinds of production tricks to getting the kit to fit your mix. I can’t stress this enough, a great recorded sound is the key. Don’t say “I’ll fix it in the mix,” it’ll be too late!
For these mixes, we did some very basic panning for the overhead mics: about 35% left for the snare OH and 35% right for the OH that was over the drummer’s shoulder. We probably wouldn’t pan our overheads farther than that with this setup. In fact, some of us preferred it tighter, but this is all to taste. This setup is somewhat of an asymmetrical setup, so as it gets wider with panning, the kick and snare may become a bit lopsided in the mix and you’ll lose that nice tight sound. If you are looking for a wider, roomier sound, a spaced pair may make more sense for your mix. We set left and right from the drummer’s perspective and not from the audience’s perspective. Keep this in mind (audience vs. drummer perspective) as you are building your mix and as you plan for where other instruments may need to sit. We brought the OH levels up until they were matched on peaks and at a level we liked. We then brought up the kick to bring more impact to the recording. The snare then came to its level so that we get more attack and pop from the snare. The kick and snare mics are there to help enhance the overall sound of the kit.
If you have questions about this technique, please don’t hesitate to get in touch with us, we’d love to tell you more!

Doug Wessling
Sound Pure Pro Audio Specialist