Recording at home is not as daunting as it seems. While some aspire to record using a home studio, others may want to record practice sessions or write a song. Fortunately, not a lot of gear is needed. Here is an overview of what is needed to begin your recording journey.
To capture any audio, the first thing needed is a computer or smart device. The device used to capture audio will determine what audio interface is needed. Most interfaces include recording software known as a digital audio workstation (DAW). Those with Apple products are fortunate to have Garageband available to use, and it is a great tool for beginners. PC users can use DAWs such as Pro Tools First, Presonus, and even Audacity.
An “all in one” audio interface works best for those starting their recording journey. These “all in one” interfaces provide everything needed: a mic preamp, A/D converter, D/A converter, computer/device connection, and a monitor controller. Below is a description of each component:
Microphone Preamplifier (preamp):
A preamplifier is an electronic device that amplifies a very weak signal (microphone) and transmits it to a main amplifier or recording device. Preamps are needed as they boost the lower output signal from microphones or pickups to a standard level, creating an audible level for playback.
Converter
The converter is at the heart of your system and affects all of your monitoring decisions, as well as the quality of your recording audio.
Analog/Digital (A/D): The recorded sound is processed through the Analog to digital conversion to become a sound wave in recording software. A/D converters process the sound from the microphone (analog) to a signal to a recording software (digital)
Digital/Audio (D/A) converter: The D/A converter processes sound from the recording software to a speaker/headphone output. Everything heard during playback is processed through Digital to Analog conversion before passing through the monitors.
Connection to a computer: Lightning, Firewire, Thunderbolt, USB/USB-C (connection changes depending on computer/device used)
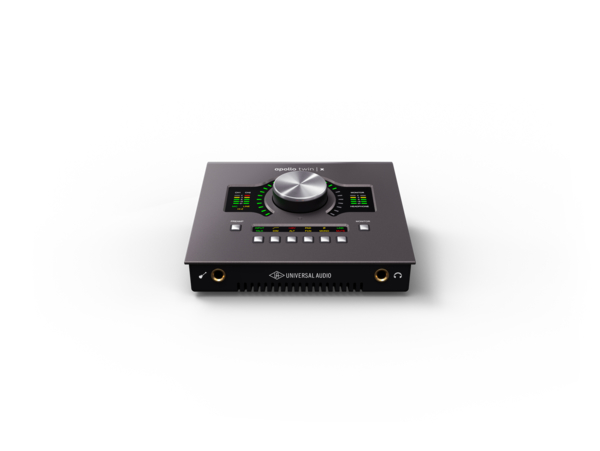
Universal Audio Apollo Twin X Duo

Audient iD44 Audio Interface and Monitoring System
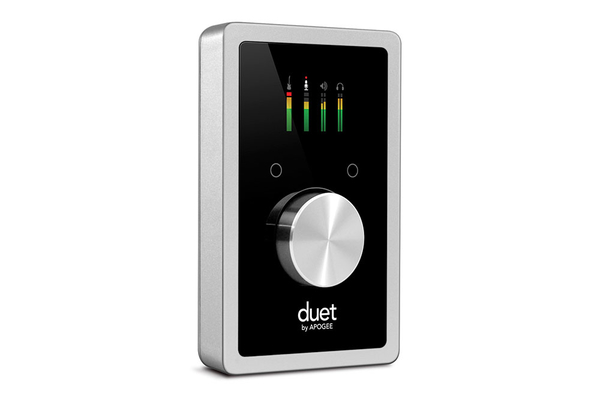
Apogee Digital Duet for iPad and Mac USB Audio Interface
Monitor controller (speaker/headphone jack):
Headphones and studio monitors get an accurate representation of what is being mixed or recorded. When looking for a set of headphones or monitors, make sure either is flat and detailed, allowing the purest sound to be heard.
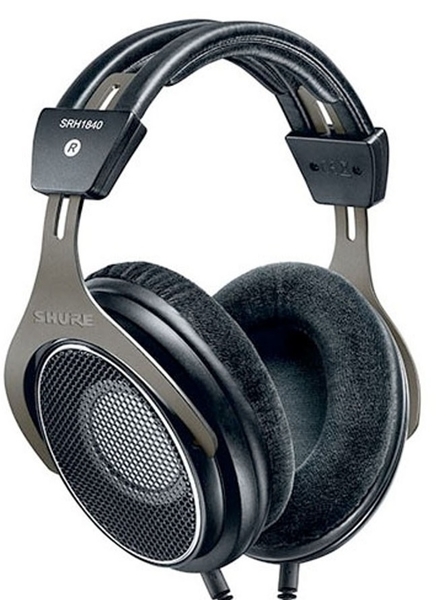
Shure SRH1840 Professional Open Back Headphones
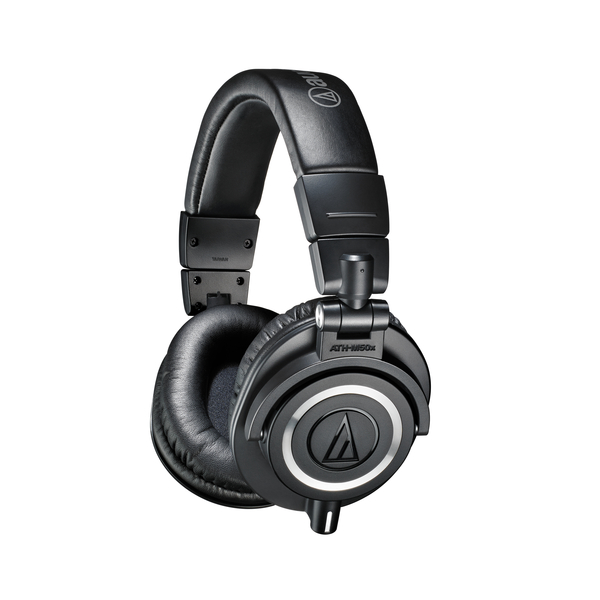
Audio-Technica ATH M50x
After obtaining an audio interface, the next piece of gear needed is a microphone. The type of microphone used will depend on what is being recorded. For those starting, a dynamic microphone works well due to their durability, affordability, and flexibility with applications. The sound of dynamic microphones are more natural than a condenser microphone, but the sound is not as refined.
Consider using a condenser microphone if capturing the most detailed sound is important. Small-diaphragm condenser (SDC) mics are great for capturing instruments like an acoustic guitar. Large-diaphragm condenser (LDC) mics are commonly used for recording vocals as they tend to provide a smoother and bigger sound. LDCs are also good for instruments when needing slightly less detail.
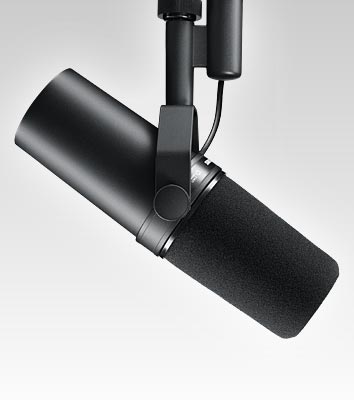
Shure SM7B Large Diaphragm Dynamic Microphone
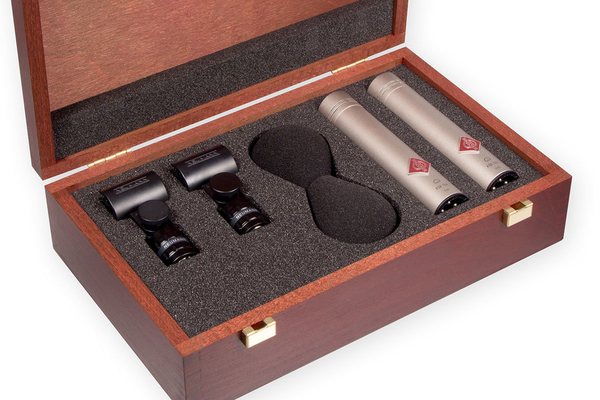
Neumann SKM184 Stereo Mic Set (Nickel)
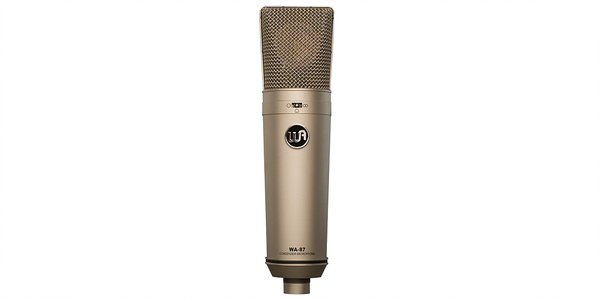
Warm Audio WA-87 Condenser Microphone
The last items needed for recording are mic cables and mic stands. A mic cable should provide great sound quality, construction, and reliability. Mic stands come in various sizes; most will do well with a short or standard mic stand.
The set up of a recording space will greatly depend on what is being done. Ask yourself: what is the goal of capturing audio? Some may have been wanting to start a podcast. Others may want to record their first song or even capture recording sessions. Feel free to contact us so we can determine the set up that is best for you.
